Ahh okay, I thought it worked well as per reviews. It does mentions viewing angle 30-40. Let’s see, as I have already received mine screen sooner than expected, now waiting for ppm to put that to test. Also, it does have a non reflective white side where viewing angle is not a problem as per reviews.
1 Like
So I went to the curtain shop today. Tried different blackout fabric color variations of grey (tested with XGimi H1, which is a bit similar in brightness (slightly more) but I tested on normal, so not full capacity). Unfortunately there is no indication of the color code  but I’ll post what I bought at the end:
The next was a slightly darker grey but the brightness was not good enough in a completely dark room (allowed me to test in the back ).
There is definitely a difference in the contrast compared to the white fabric or the white wall. The contrast was best on the darker grey, but the brightness was not, and although I could boost the brightness, I intend to use the projector outside, and would use the eco mode for the PPM cause otherwise on Presentation I might not have time for a full movie (if not with a power bank).
They’ll deliver it on Monday and I’ll get it sewed to prepare for the PPM . Will post images with the final product.
3 Likes
I’ve just got a pop up floor freestanding screen , went for 80 inches as this will be used in garden and bedroom so went for flexibility. That come in a day , was 120 quid off eBay new. Looks really decent to be fair
1 Like
Hello, this is my setup for outdoor.

Include:
-Screen
celexon Basic Beamer-Leinwandtuch zur Wandbefestigung einfach per Klett, Nägel oder Schrauben - 280x158 cm - 16:9 - Gain 1,1 celexon Basic Beamer-Leinwandtuch zur Wandbefestigung: Amazon.de: Elektronik
-Bracket
-To attach
3 Likes
Hi,
Hass anyone tried Ikea electric roller blind?
Here we only have that grey grain version. Not sure if that will look “grainy” with a PPM lighting it?
Thanks!
1 Like
This is exactly what i am looking for. Thanks for sharing. 
1 Like
I’ve seen on YT that someone adjusted the width of the blind by cutting the whole thing. He opened op the roller and removed the blind to cut it. So might be possible to add your own projectscreen on the roller. Than you have an awesome smart project screen.
1 Like
YT?
Would you have a link for me to check?
What I like about the IKEA electric roller blind is that you don’t need an electric plug (as it’s battery operated) and there is a remote!

Didn’t open up the roller but it might be possible to add your own projection screen.
1 Like
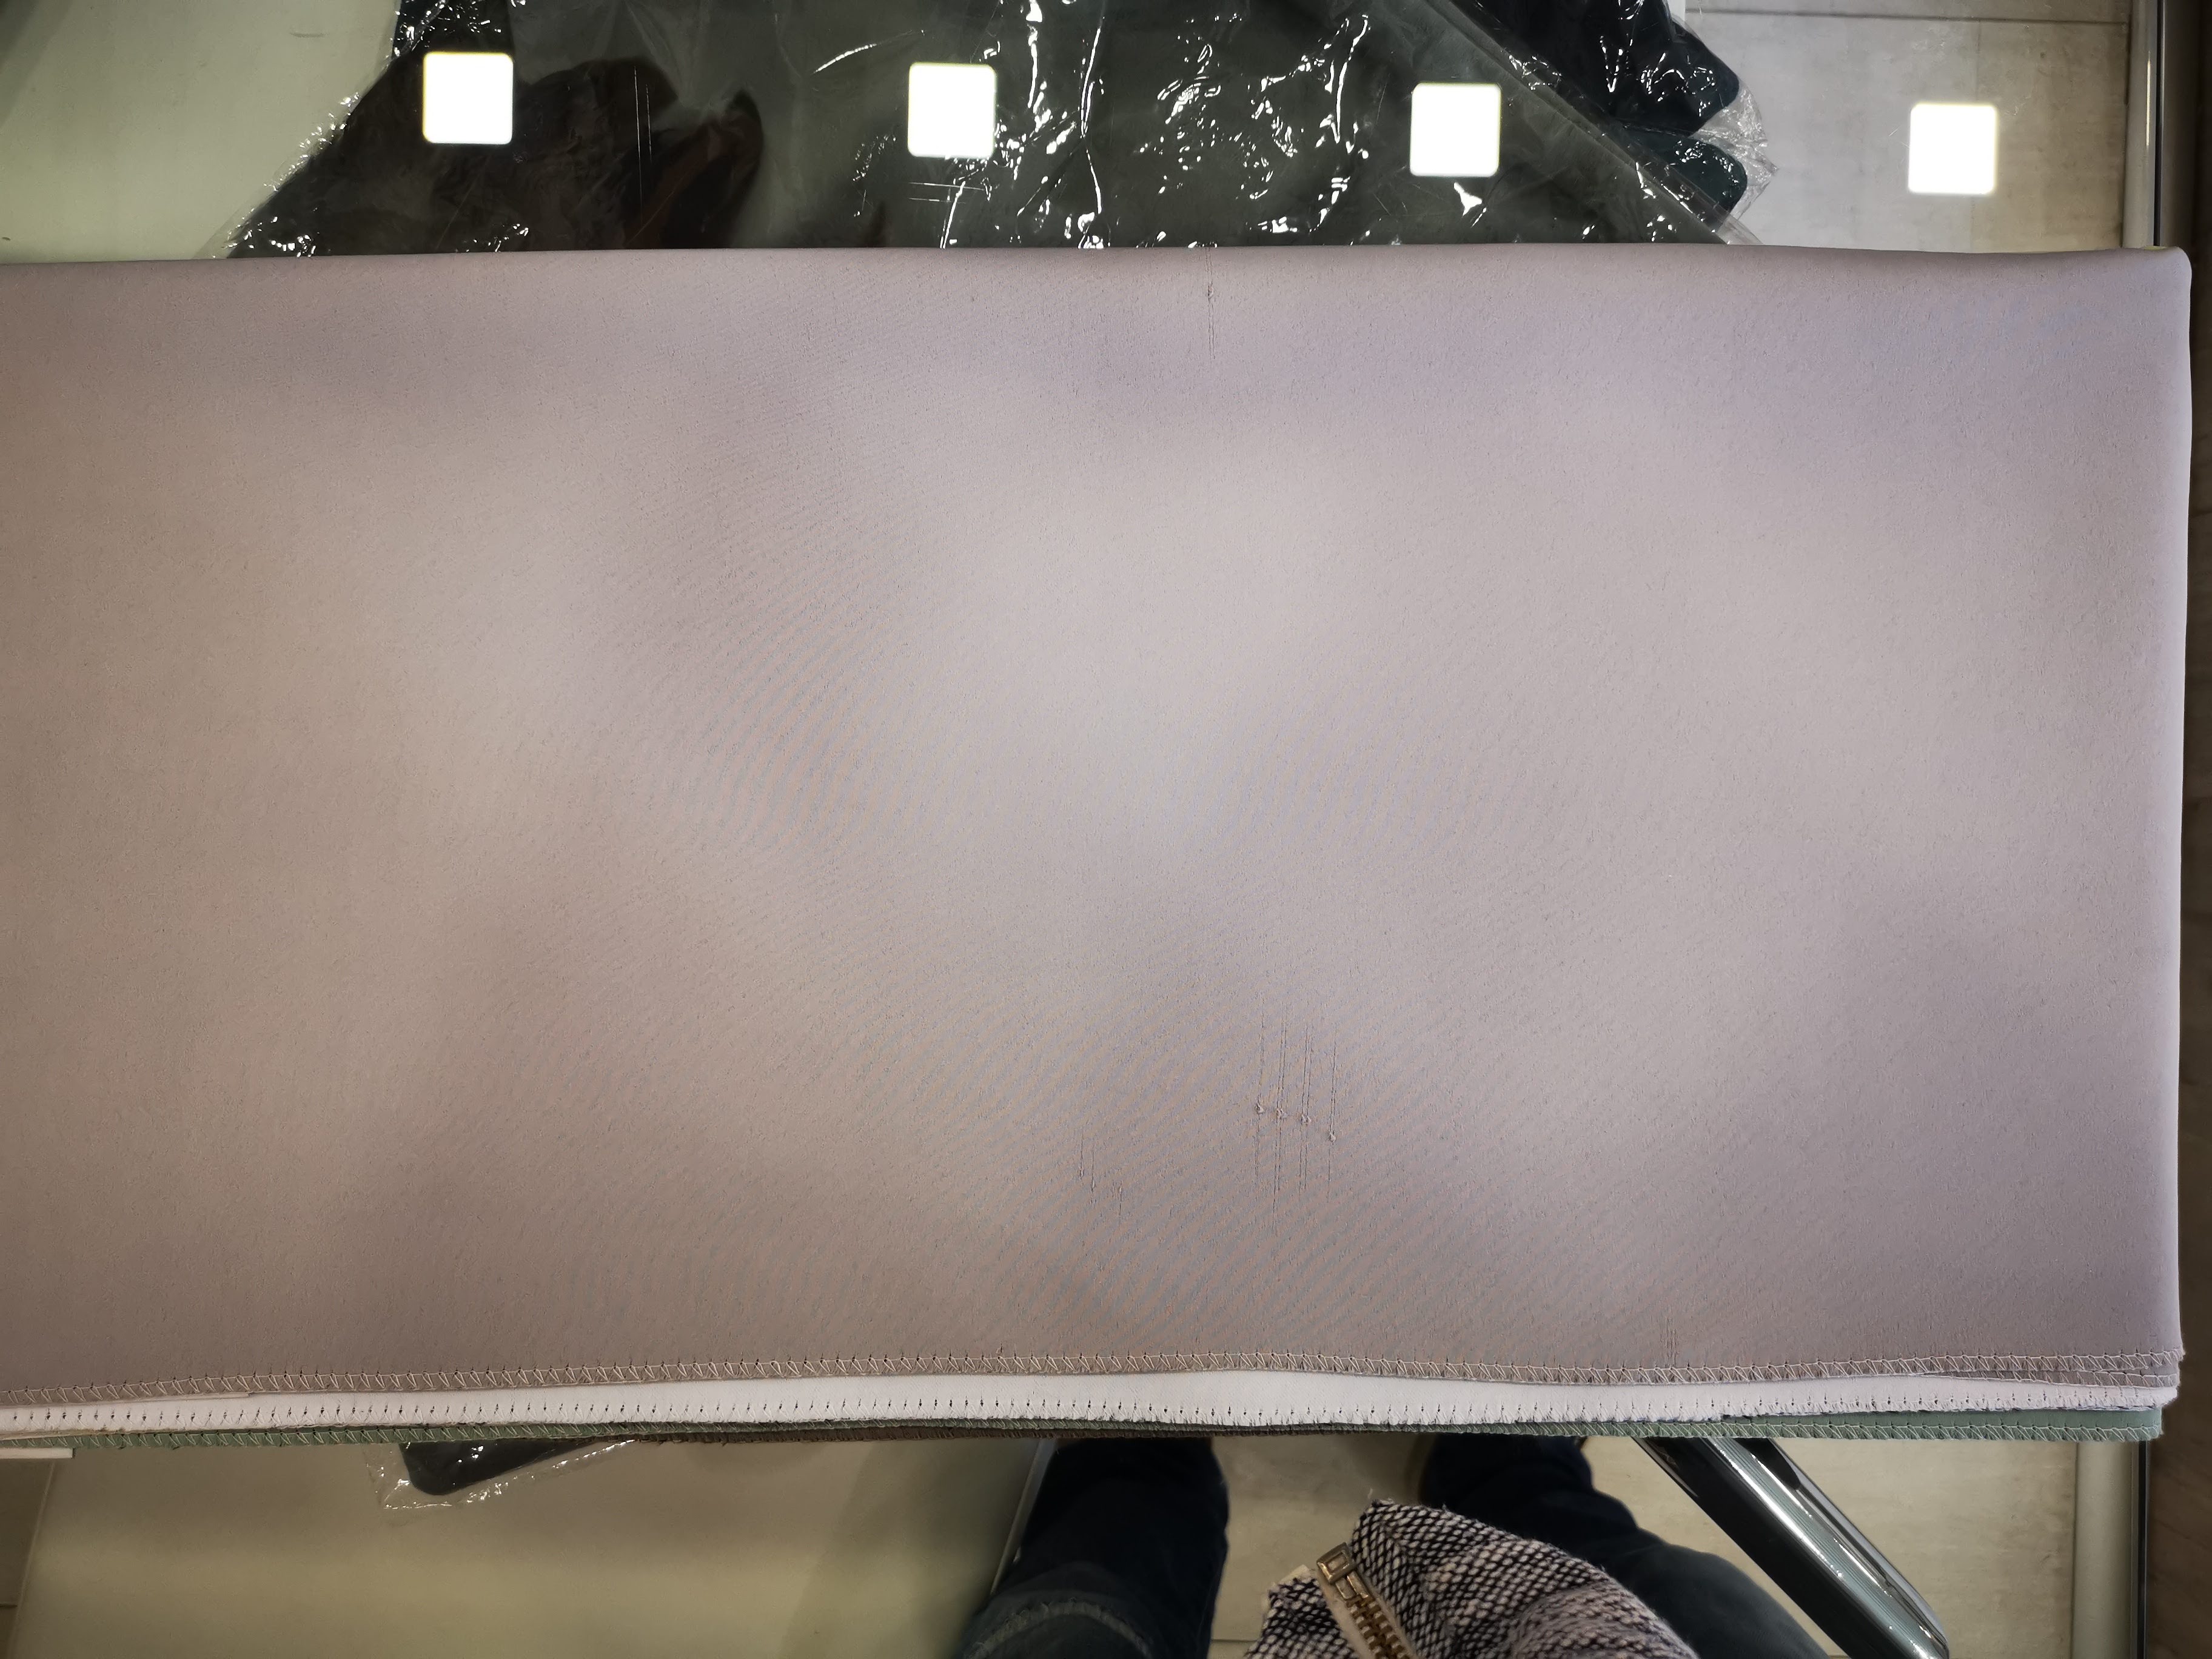
Following my last week’s post, here is an update with the finished projector screen.
Fabric: Blackout curtain fabric grey colour (not the darkest grey cause the darker it is the more brightness you’ll lose);
Dimensions: 88 inches
Top/Bottom frames: Aluminium tubes
Step 1: Buying the fabric
Check my previous post type of projection screen . I bought 2 linear meter and the fabric was 2.8 meter high, so 2.8x2 meters.
Step 2: Buying aluminium tubes for the frame
I went to the hardware store and bought 5 aluminium tubes - each 1 meter long. One of them with smaller diameter cause it goes in the bigger one for fitting the frame.
Step 3: Measurement and cutting the fabric
This is a bit tricky cause the one I bought was not even on the sides so I had to spend some time, carefully measure everything and cut as needed. I made the dimensions of a 89-90 inches screen but lets some buffers on the sides for the sewing purposes later on. At the moment I have spare fabric for a second screen, but won’t make one for now…it’s just in case.
Step 4: Sewing the screen
My mom has some skills but any sewer will do. Basically we took around 2-3cm on the sides to reinforce them and remove any stitches. On the top and the bottom, you have to leave space for the aluminium tubes to go through cause they’ll be holding the screen.
Step 5: Preparing the tubes
You’ll need some tools for that. First I’ve cut around 10cm pease of the smaller tube, then took one with a bigger diameter and heat it up with a hot air pistol. Once hot enough, I inserted the smaller one into it to make a firm grip and left around 5cm to stick out - this end will go in the other tube. To make it a bit thinner, so it can easily fit inside the other tube, I had to use sand paper and some patience

Here is the end result, which is far better than the image (bad lighting)
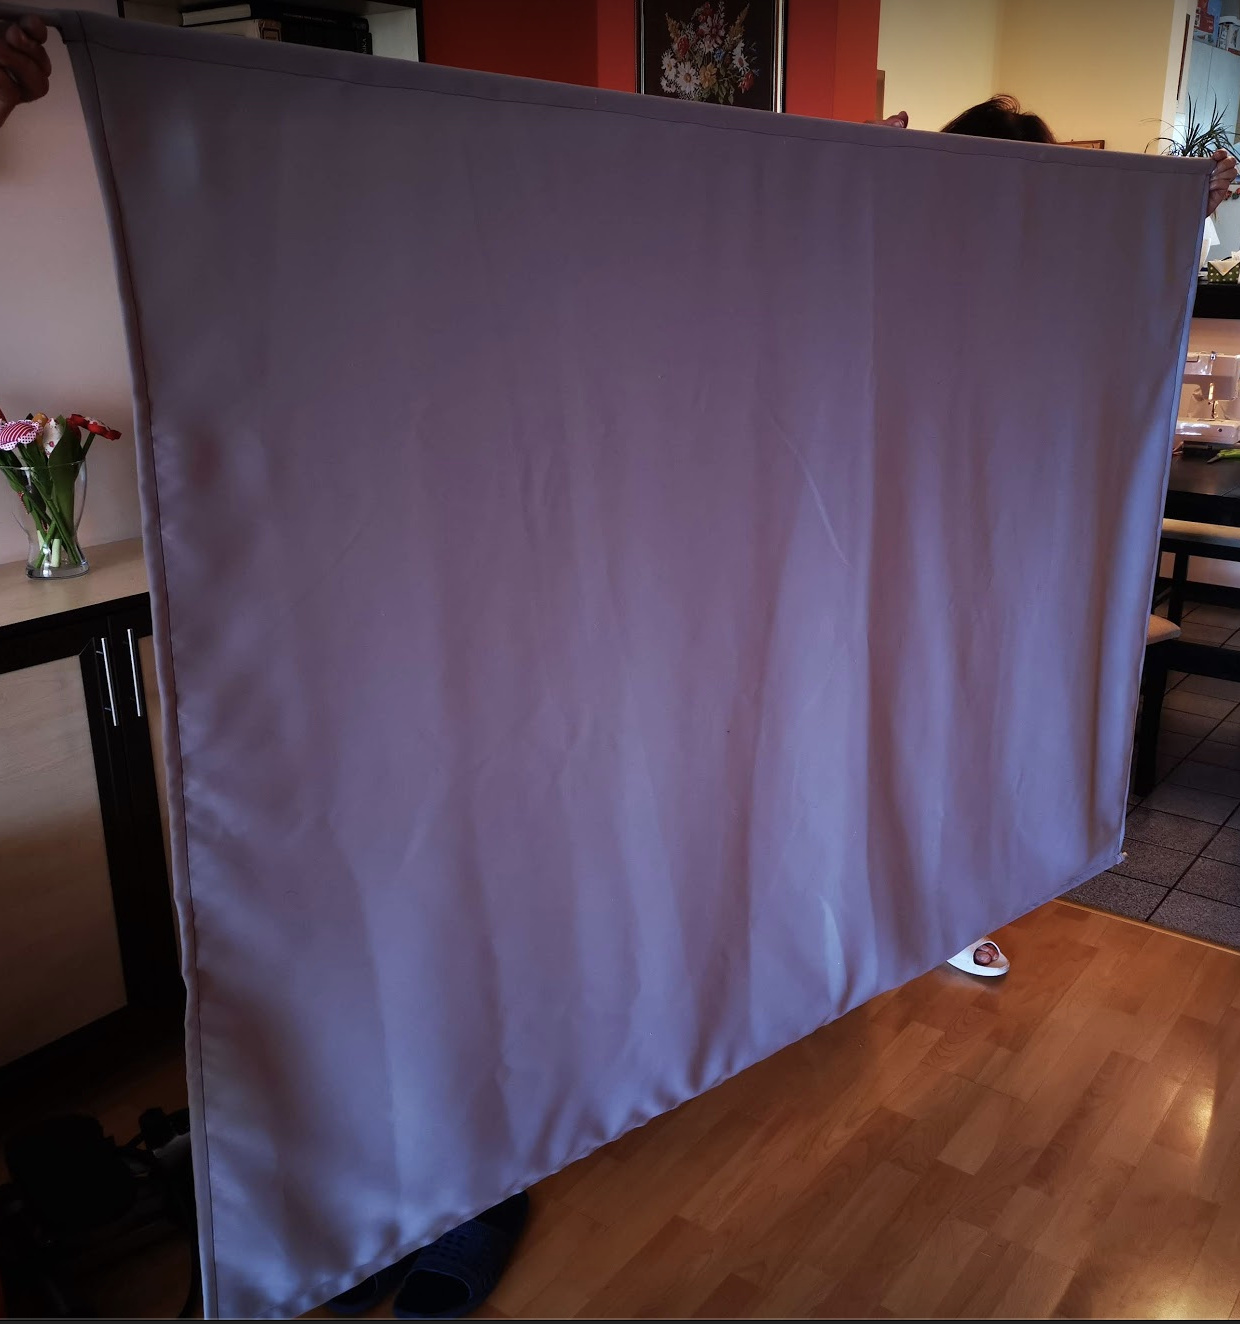
It has a few creases cause it was sitting in a storage room somewhere, but it’s not a problem to wash it and iron it (I have a curtain in my bedroom from the same fabric).
Once I put the top/bottom tubes, I just used some office clips like these ones from AliExpress to stretch it even more and fix it with the tubes.
Took a quick sample image while projecting on the same fabric to see how the contract and brightness are (don’t mind the Chinese subs) . Unfortunately, the focus was a bit off, but I was in a hurry . To be honest, I first wanted to buy a darker grey, cause it had the best contrast, but takes a lot of the light. So I went with the one tone brighter fabric. The phone cannot show it, but there is a big difference it the contrast when compared to a white wall/fabric and this blackout grey fabric, which blocks almost all light from the back and is a bit romaine.

Contrast is great, brightness is good as this is a bright projector (but on Eco it might not be the case), and the viewing angle is also good. I’m really happy with the result for the cost of ~20 EUR and some spare time. I’ve searched a lot for a portable grey screen with good quality fabric and viewing angle - there is nothing better on the market at this price point.
Bonus: Also sewed myself a caring pouch

Will make some better images once I get the PPM, cause this was made with xGimi H1.
7 Likes
Hey guys,
I wanted to share with you the frame i built to put the projection screen i bought on. I bought a simple 120" screen with a small viewing angle on AliExpress in January (will share the link if you want), and made this frame out of wood.

I can share the technical plan if you want to do the same thing, i’m also considering filming the step where i staple the screen on the frame if you’re interested. The frame is about 256cm x 144cm (i don’t remember exactly but its a 16/9 ratio) so the final screen will be 116".
5 Likes
Please edit your post to include it, yes!
Great idea by the way! I’d be worried about the wood warping / working though, but I guess it depends on the wood type and usage / storage conditions.
Hi @Julius, thx for sharing this. Just like @Traffic I’m also looking for same setup.
How are you satisfied with the screen? Reviews on Amazon mention complicated “stretching” as it has only few holes, not so sharp image and some of them mentioned unpleasant technical odor. Did you noticed any of this or it’s acceptable at the price? Also I didn’t find any info if it comes with any kind of bag or other packaging for transportation - is it even suitable for multiple rolling/packing?
Sorry for lot of questions - just last one - could you please share detail how you use CamJam to attach it? (pic would be great)
1 Like
I think if you point it up or down, the vertical keystone also reduces the image size of ther HDMI signal delivering the same result as digital zoom
1 Like
hello, I’m happy to help.
First of all I would like to note that I have this text translated by google and I unfortunately do not have my PPM yet (if everything works I should get it at the end of next week).
-I can’t complain about a strong smell, but if it should, it should still be aired for 1-2 days.
- with the holes, I have to agree with the other customers. but since other canvases were made of fabric and the picture is poorly presented, I chose this one. I bought this here for the problem of the missing extinguishers.
BUYGOO 103PCS Grommet Werkzeug Kit - 100PCS Grommet Ösen 2/5 Zoll 10mm Innen Durchmesser mit Lochwerkzeug, Grommet Einstell Werkzeug und Aufbewahrungsbox BUYGOO 103PCS Grommet Werkzeug Kit - 100PCS Grommet Ösen 2/5 Zoll 10mm Innen Durchmesser mit Lochwerkzeug, Grommet Einstell Werkzeug und Aufbewahrungsbox: Amazon.de: Küche & Haushalt
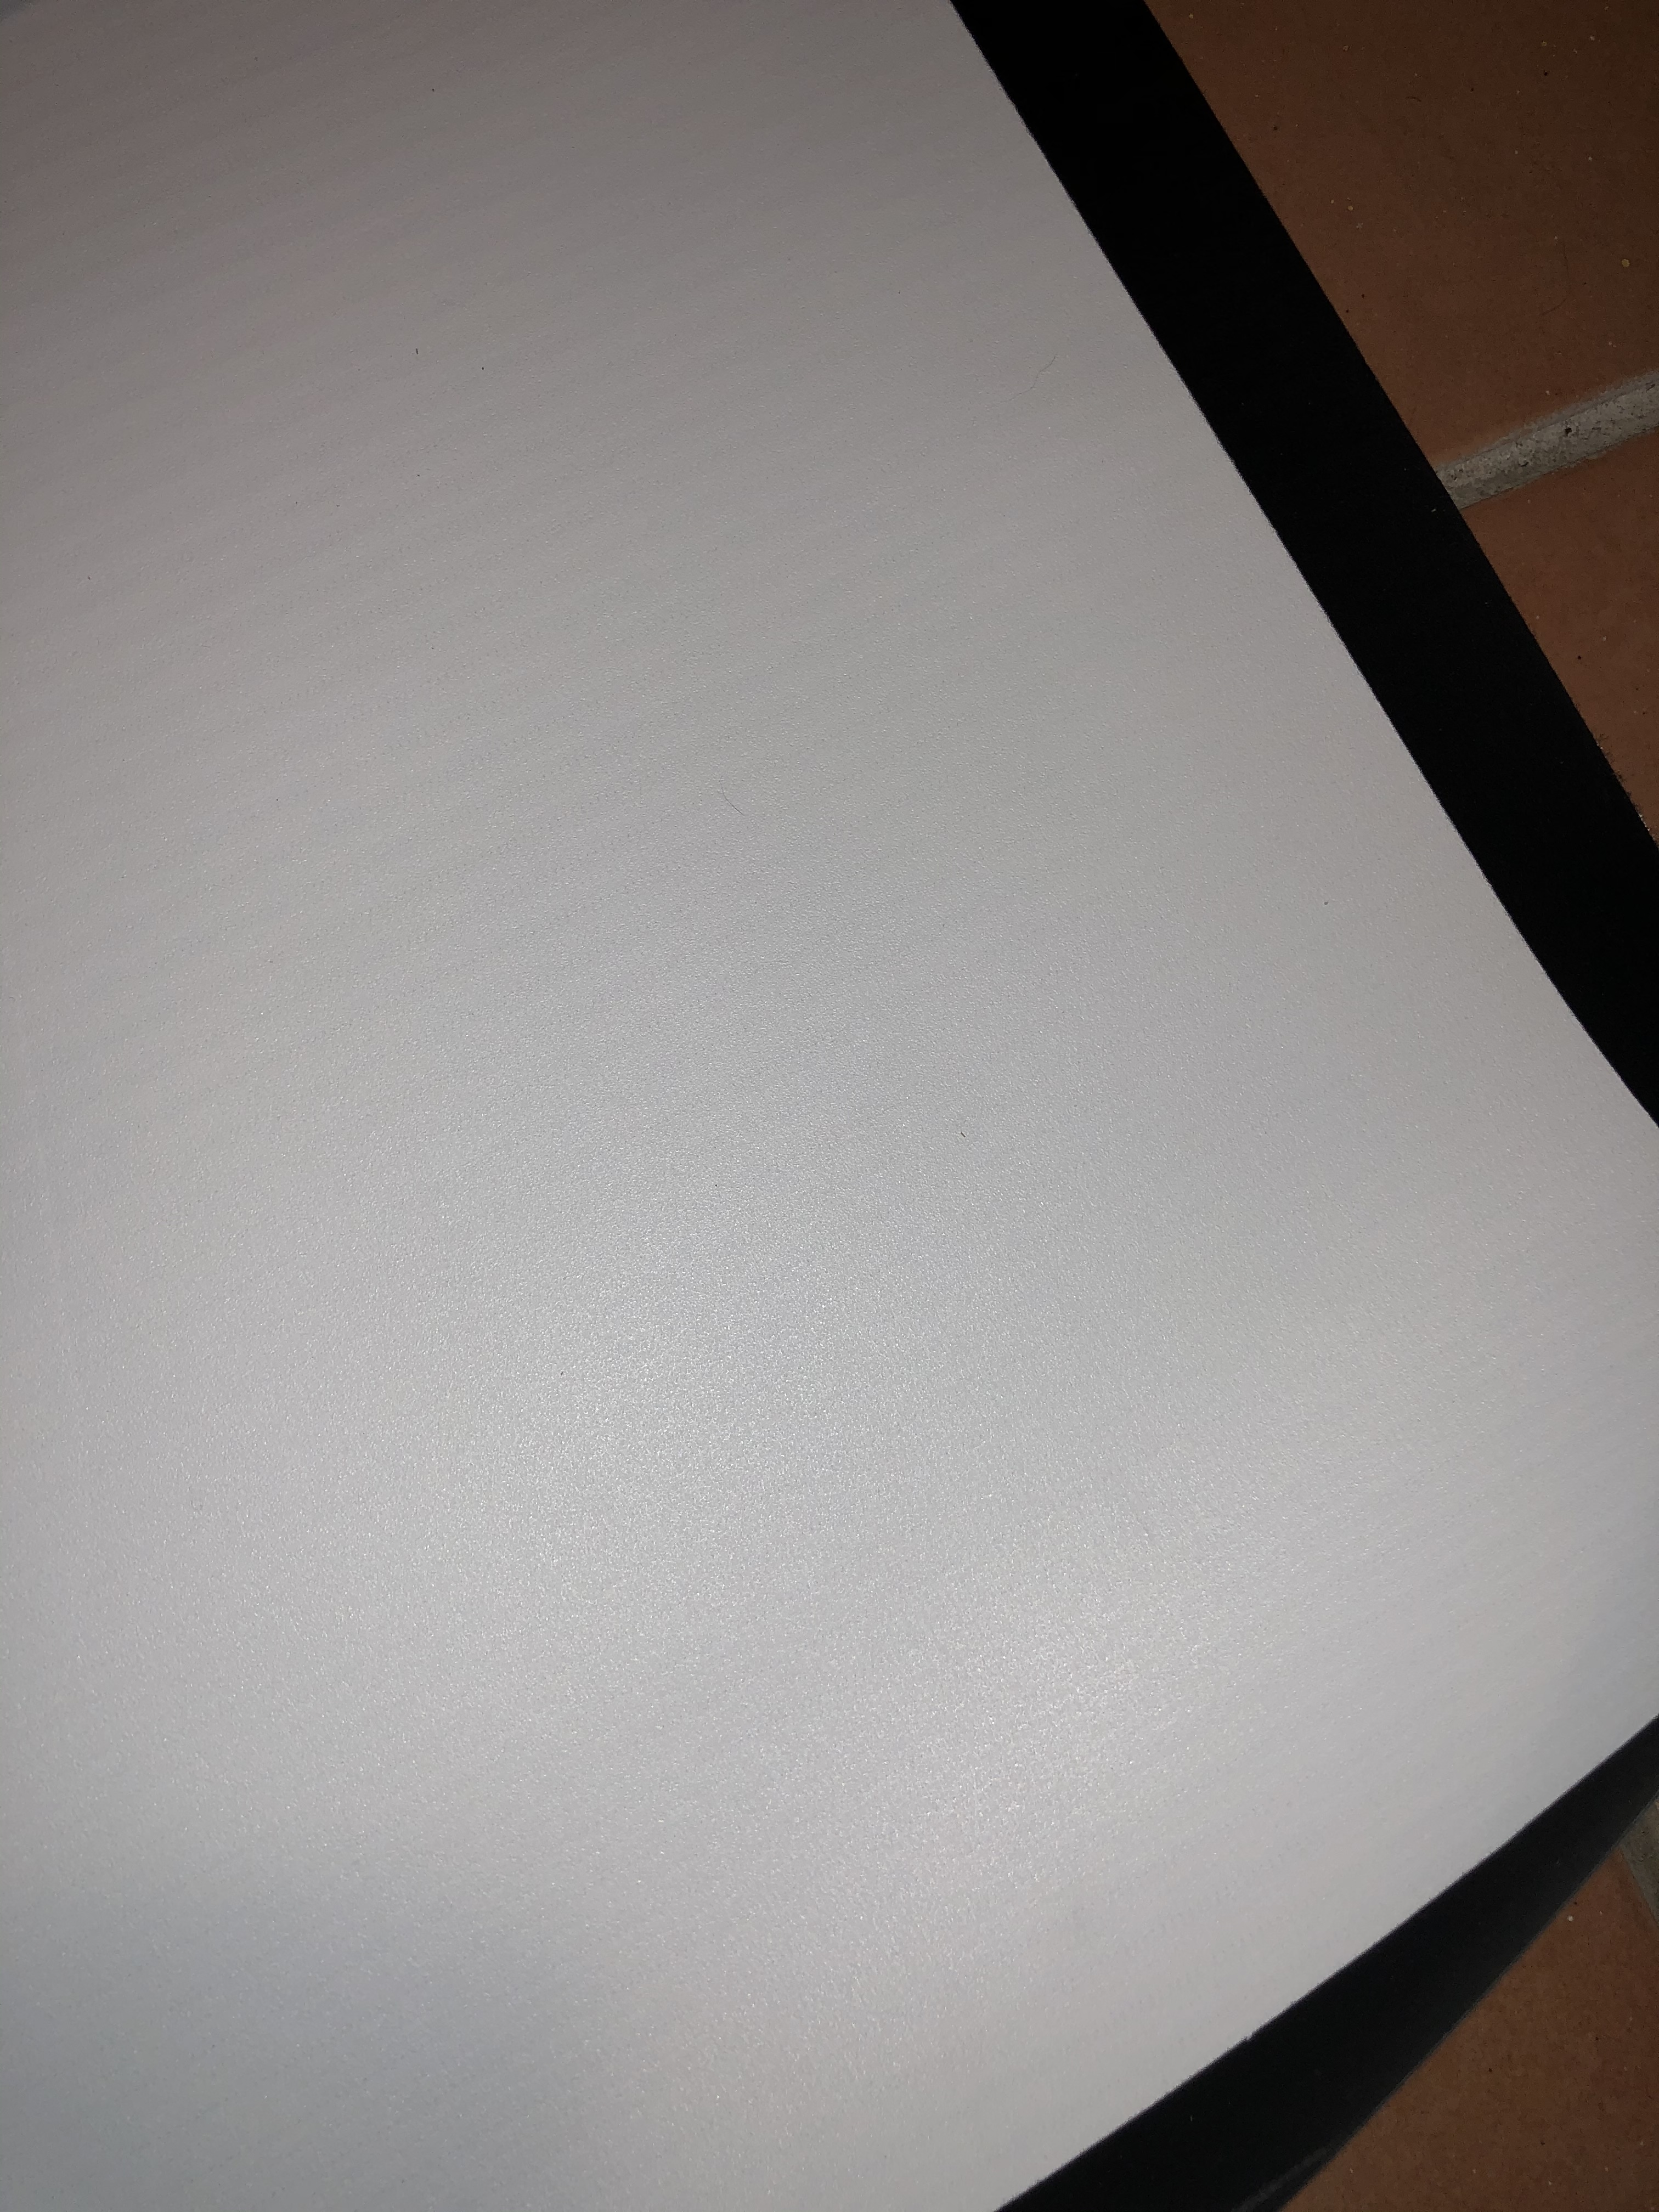
- Unfortunately I haven’t been able to try the canvas yet, but when I look at the pictures of other bakers like the picture on a garage for example, I don’t think that the picture quality would be bad because the surface is nice and smooth and matt. should always be better than on canvas were made of fabric. and with the right treatment, less wrinkles.


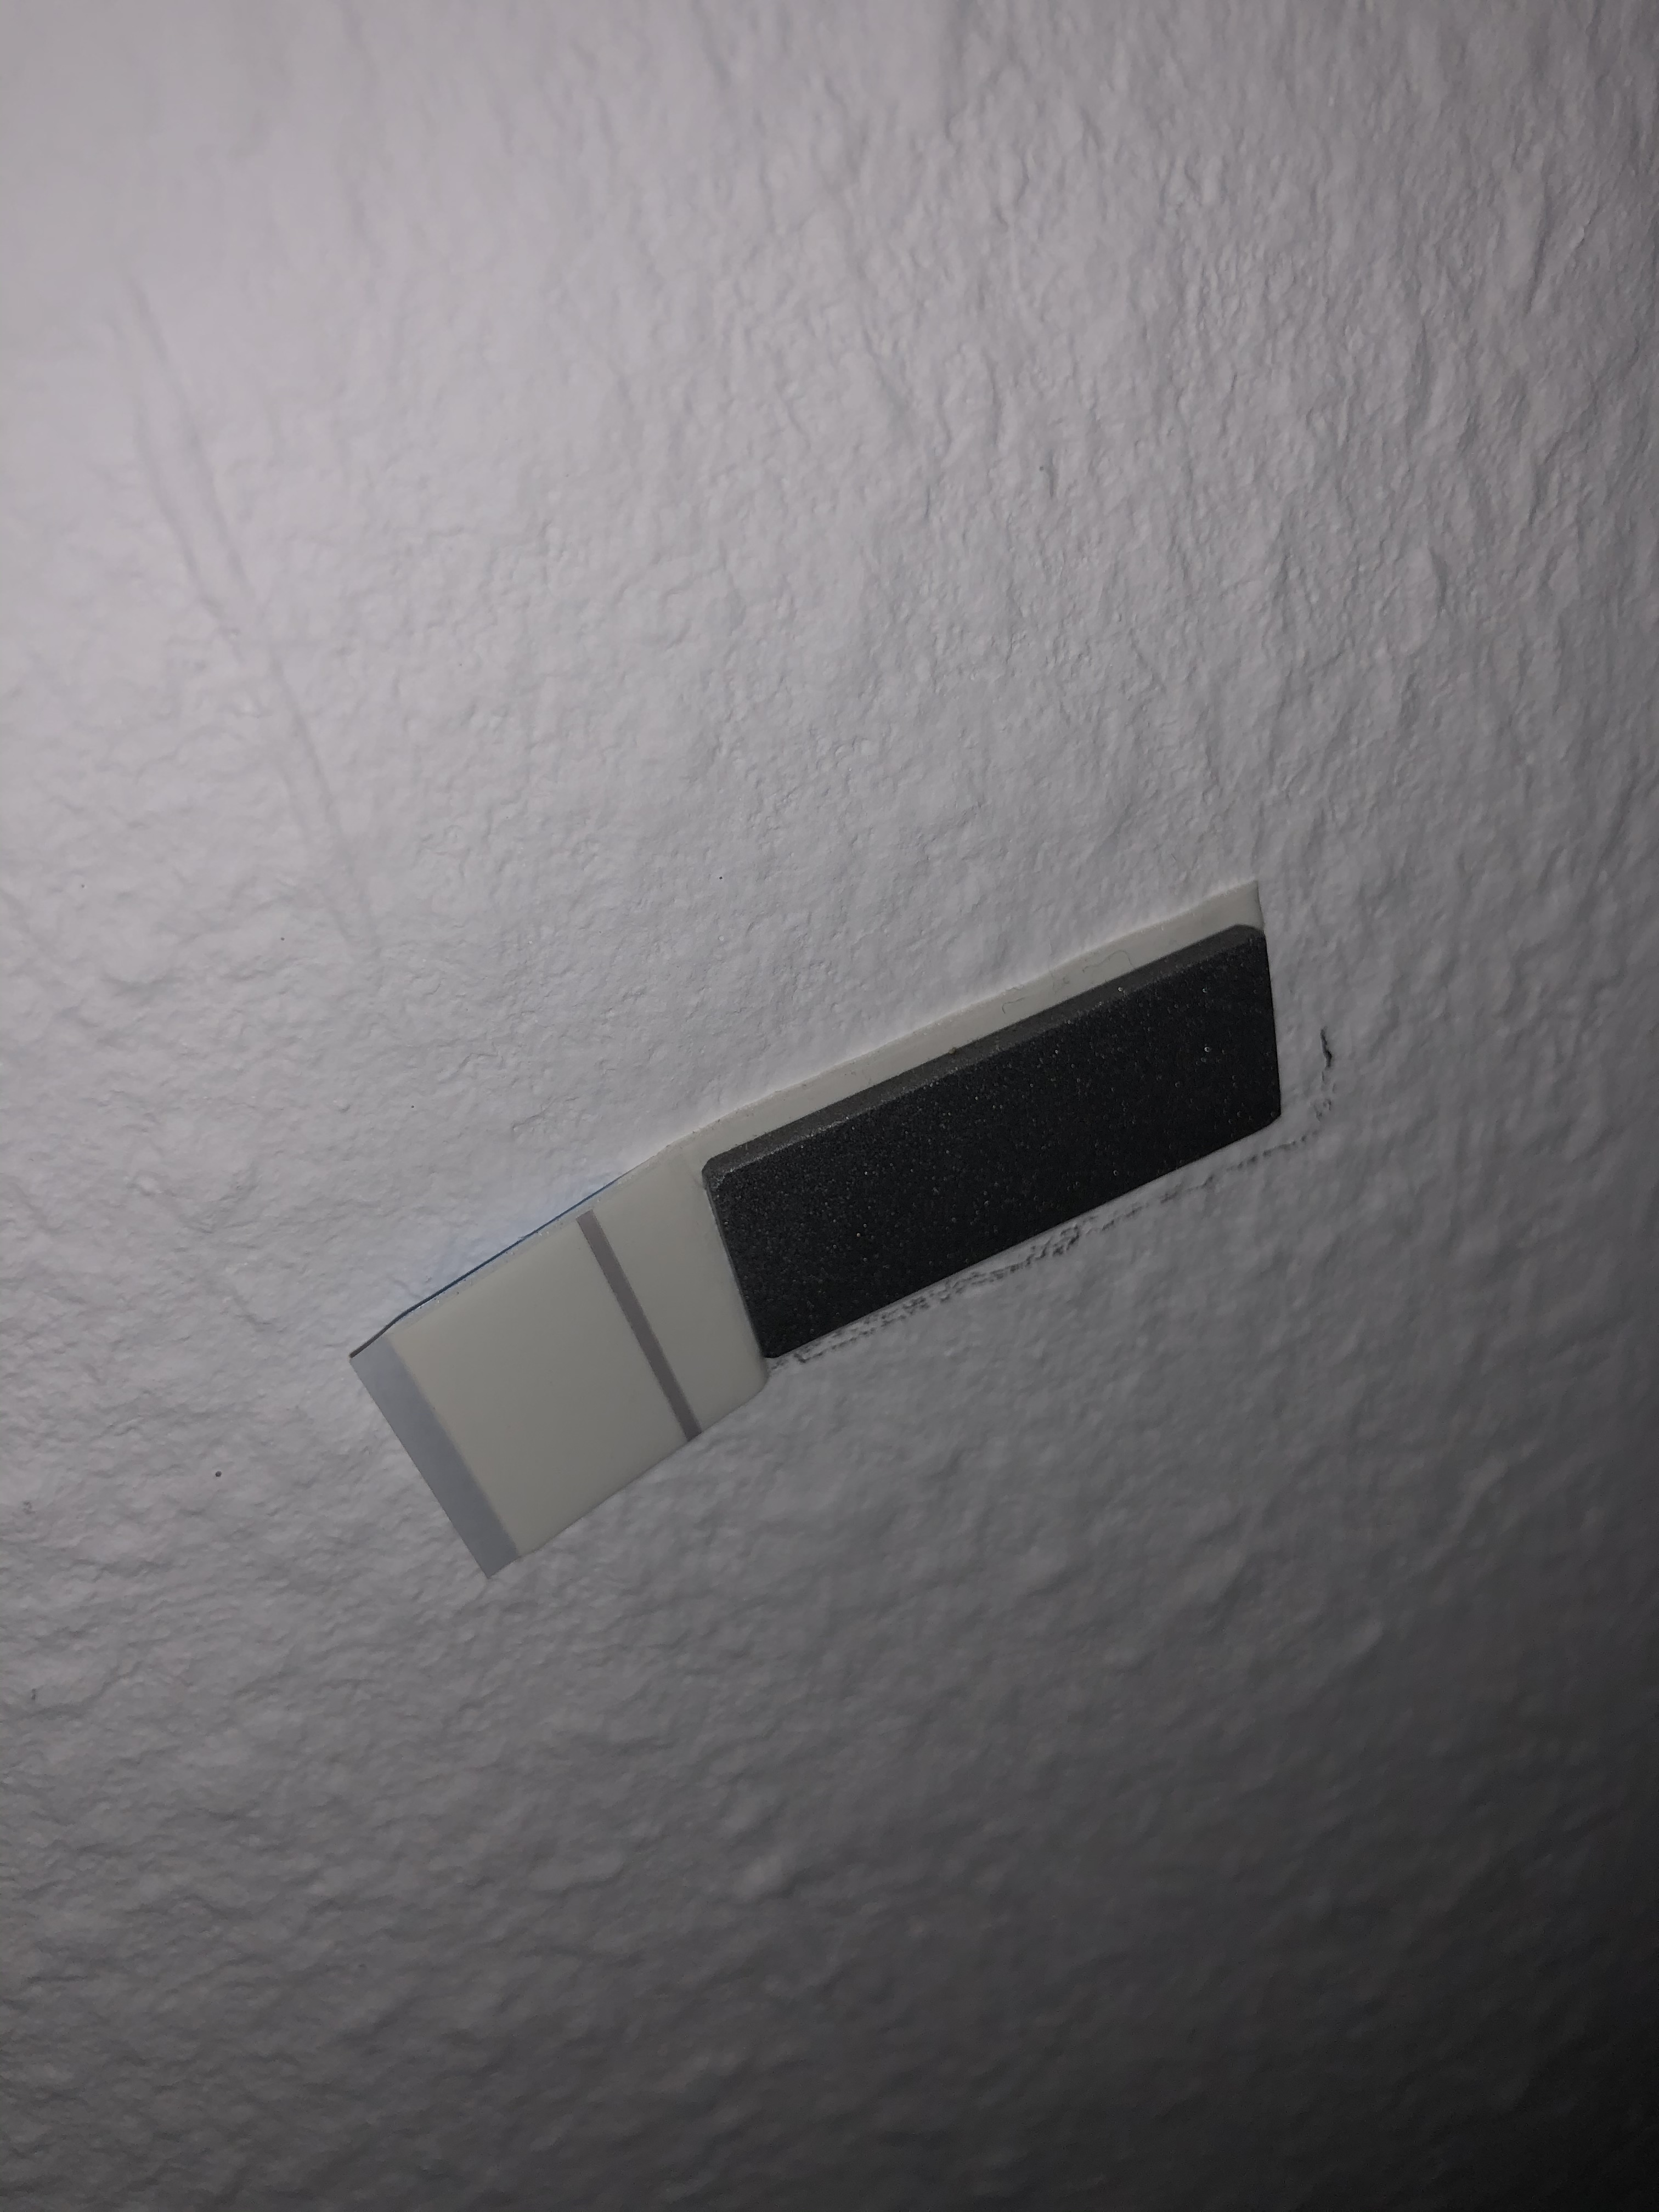
-I will soon put up the canvas, I’ll take pictures of the camjam. there are certainly other solutions like just using a cord, but it is faster, more accurate and easier.
- so that the two tripods below are not pulled together, I still stabilize them with old tent poles (pictures follow).
-Here another picture of how everything looks packed together. it is not suitable for backpackers but perfect for a movie night with friends or wherever you go by car.

- in the end everything costs a few euros but you have a big and smooth canvas that is quick to set up and easy to transport by car
-I bought this canvas at home and fixed it with tesa, some iron stripes and black neodymium magnets.

Duronic APS100/ 169 Beamer Leinwand / 100" / 16:9 / Wandmontage, Klettverschluss / 221 x 125cm / 4 K Full HD 3D / Verstärkung 1.0 / Projektor Leinwand/Heimkino, Büro, Präsentationen, Schulen, Events Duronic APS100/ 169 Beamer Leinwand / 100" / 16:9: Amazon.de: Elektronik
tesa Klebestreifen zum Befestigen auf Tapete & Putz, 0,5 kg Halteleistung tesa Klebestreifen zum Befestigen auf Tapete & Putz, 0,5 kg Halteleistung: Amazon.de: Baumarkt
2 Likes
Can I ask you to please post the text in translated English as well as the original German then? Cause I see for instance
and can’t quite figure out what you meant ![]()
![]()
2 Likes
Tomorrow is the day!
@IvoGrijt
will try to create a detailed representation of my mobile projector wall at the weekend. Hopefully more understandable this time …
1 Like